On-Page SEO | Module 4
By the end of this module, you'll know how to optimise every page so it's clear, readable, and search-engine friendly—and how to use internal links to guide visitors and Google through your site.
Think of each page on your site like a product shelf in your shop. The title is the label, the headings are the signs above it, and the links are the paths leading customers to the right place. If shelves are messy or unlabelled, people—and Google—walk straight past. On-page SEO is about making each page neat, clear, and connected.
Before You Start: Get Your Keyword Map
In Module 3, you created a keyword map—a list showing which keyword belongs to which page. Keep that handy. You'll use it in this module to optimise each page.
If you haven't done Module 3 yet, go back and create your keyword map first. You need to know what keywords go where before you can optimise pages.
Step 1: Optimise Page Titles & Meta Descriptions
Do this:
For each page, write:
- Title tag: 50-60 characters, includes your main keyword from your keyword map
- Meta description: 140-150 characters, describes the page and includes your main keyword
Where to add them:
WordPress (with Yoast or Rank Math):
- Edit the page or post
- Scroll down to the Yoast/Rank Math box
- Fill in "SEO Title" and "Meta Description" fields
Shopify:
- Go to your page or product
- Scroll to "Search engine listing preview"
- Click "Edit website SEO"
- Add title and description
Wix:
- Go to Pages menu
- Click the three dots next to your page
- Select "SEO Basics"
- Add title and description
Squarespace:
- Edit the page
- Click the gear icon (settings)
- Go to "SEO" tab
- Add title and description
Example:
Page: /services/wedding-flowers Keyword from map: buy wedding flowers Brisbane Title: Buy Wedding Flowers Brisbane | Fresh Seasonal Bouquets Description: Order beautiful wedding flowers in Brisbane. Fresh seasonal bouquets, bridal arrangements, and ceremony florals. Free consultation available.
Check this worked: Search "site:yourdomain.com.au wedding flowers" in Google. Your title and description should appear (Google may rewrite them, but yours will be the starting point).
Why this matters: Titles and descriptions are what people see in search results. Clear ones get more clicks.
Step 2: Use Clear Headings (H1–H3)
Do this:
- One H1 per page (your main page title, includes main keyword)
- H2s for main sections
- H3s for sub-points under H2s
Where to add them:
Most page builders and CMSs have heading options in the text editor. Look for "Paragraph" or "Normal" dropdown—change it to "Heading 1," "Heading 2," etc.
Example structure:
H1: Buy Wedding Flowers Brisbane (page title) H2: Seasonal Wedding Bouquets H3: Spring Collections H3: Summer Collections H2: Bridal Flower Packages H2: Ceremony Arrangements
Check this worked: Skim only the headings. Can you understand what the page covers?
Why this matters: Headings make content scannable and help Google understand your page structure.
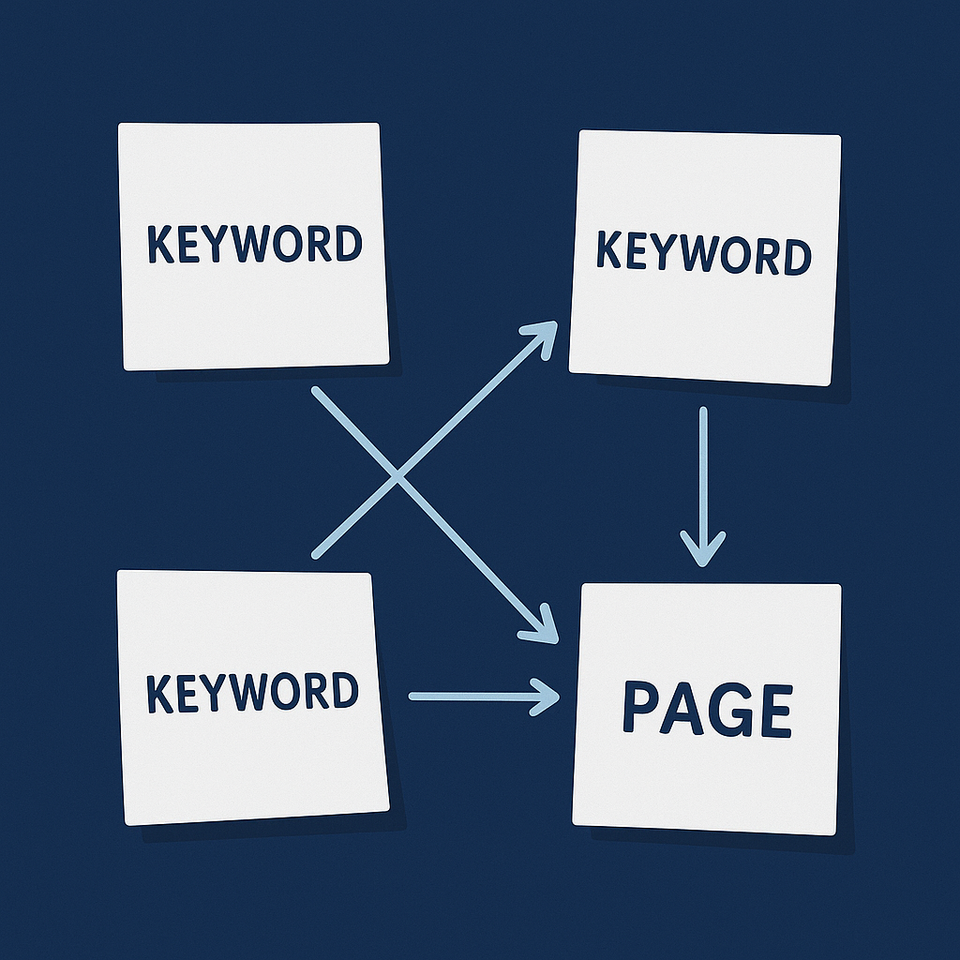
Step 3: Write Content That Answers the Search Intent
Do this:
Look at your keyword map. For each page's main keyword:
- Search that keyword in Google
- Look at the top 3 results
- See what topics they cover
Your page should cover similar topics but in your own words. Aim for:
- Service pages: 300-500 words minimum
- Blog posts: 500-1000 words minimum
- Only write more if needed to thoroughly answer the question
Writing tips:
- Keep paragraphs 2-3 sentences
- Use bullet points for lists
- Use plain English
- Break up text with images
Check this worked: Read your page aloud. Does it sound natural? Would it help someone looking for this topic?
Why this matters: Google ranks pages that thoroughly answer what people are searching for.
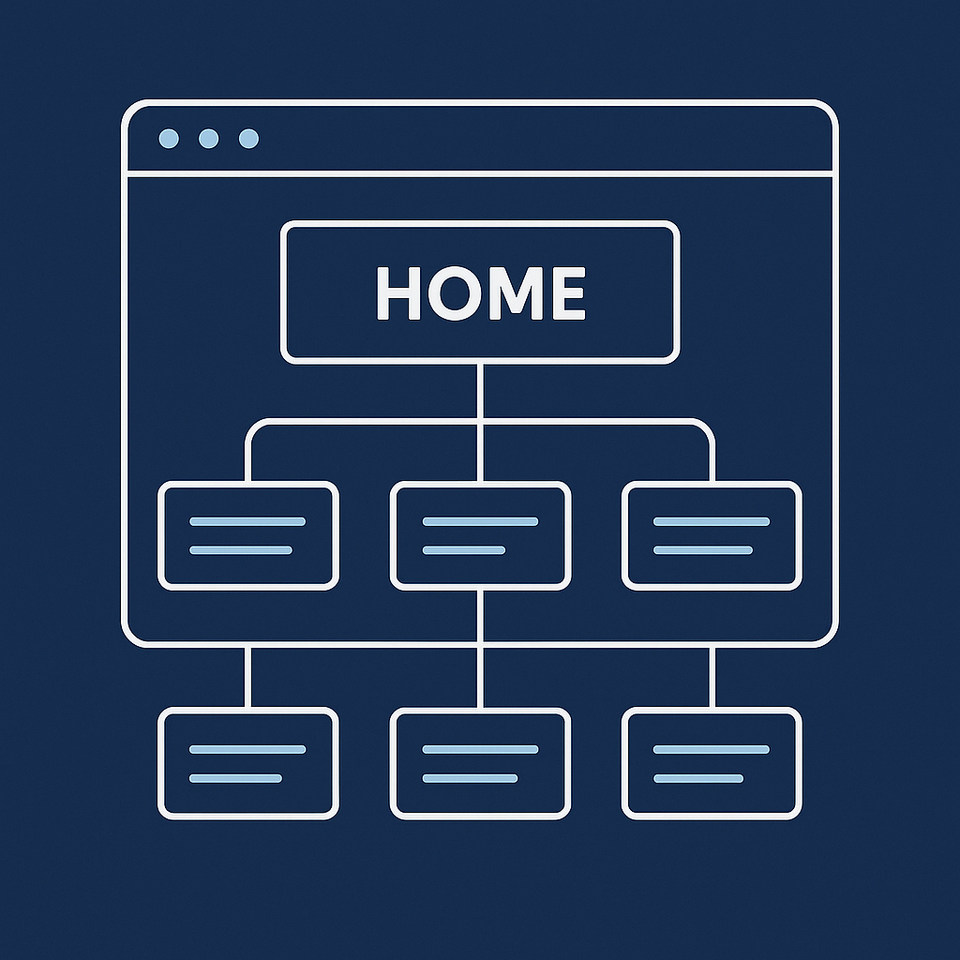
Step 4: Add Internal Links
Do this:
Add 2-5 internal links per page:
- Link from blog posts to relevant service/product pages
- Link from service pages to related services
- Link from new content to older, important pages
Use descriptive anchor text:
- Good: "See our SEO audit checklist"
- Bad: "Click here"
Example:
You have:
- Service page: /services/wedding-flowers
- Blog post: /blog/choose-wedding-flowers-by-season
In the blog post, add a link: "Ready to order? Browse our wedding flower packages" (linking to /services/wedding-flowers).
Where to add links:
Select text in your editor, click the link button, paste the URL of the page you're linking to.
Check this worked:
- Every important page has at least 2-3 other pages linking to it
- No page is "orphaned" (zero links pointing to it)
Why this matters: Internal links help Google find pages and understand which ones are most important.
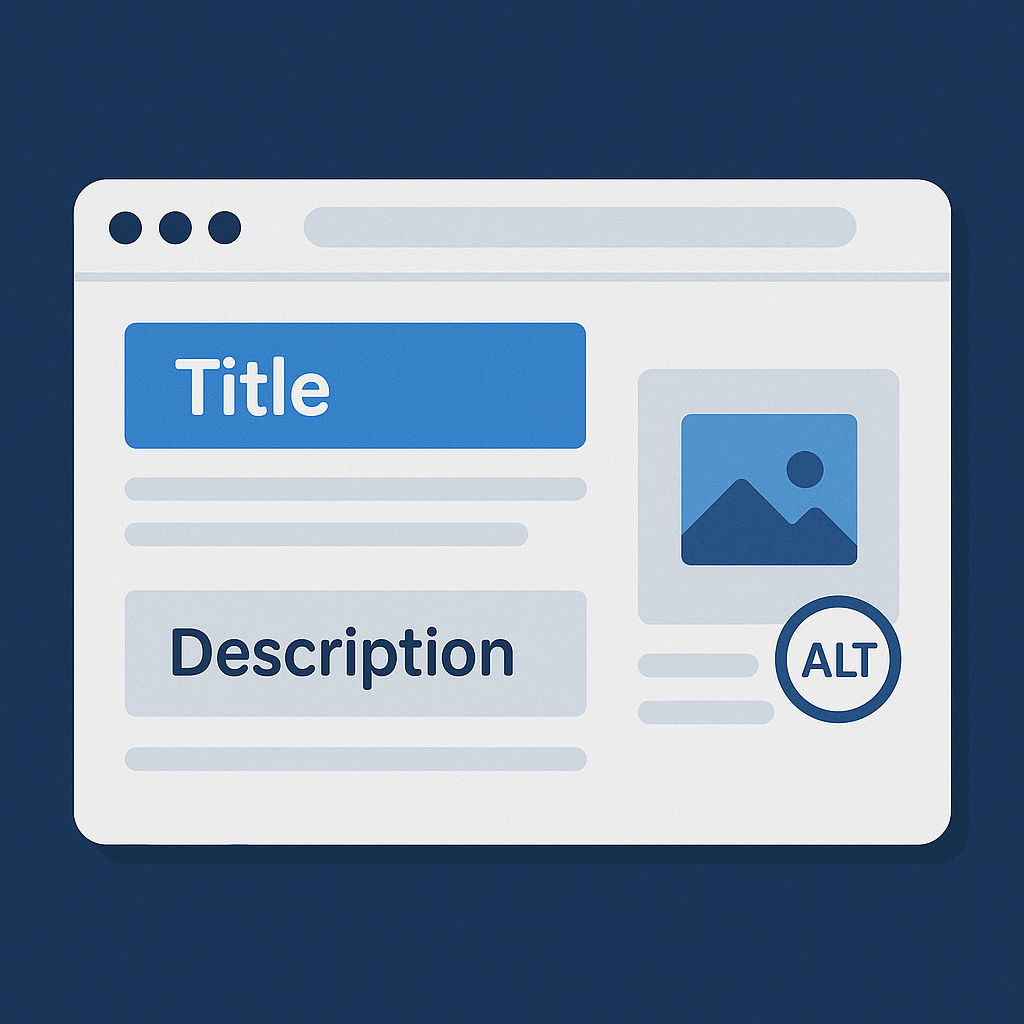
Step 5: Optimise Images
Do this:
For every image on your page:
Add alt text:
- Use alt text to describe what’s in the image for people who can’t see it. Avoid stuffing keywords — describe naturally.
- Describe what's in the image (one short sentence)
- Include keywords only if natural
Compress images:
- Use free tools like TinyPNG or Squoosh before uploading
- Or use plugins (WordPress: Smush, Imagify / Shopify: apps like Image Optimizer)
Where to add alt text:
WordPress: Click image > sidebar shows "Alt Text" field
Shopify: Click image > "Edit alt text"
Wix/Squarespace: Click image > Settings > Add alt text
Example:
Image of bride holding bouquet Alt text: "Bride holding white rose and eucalyptus wedding bouquet"
Check this worked:
- All images have descriptive alt text
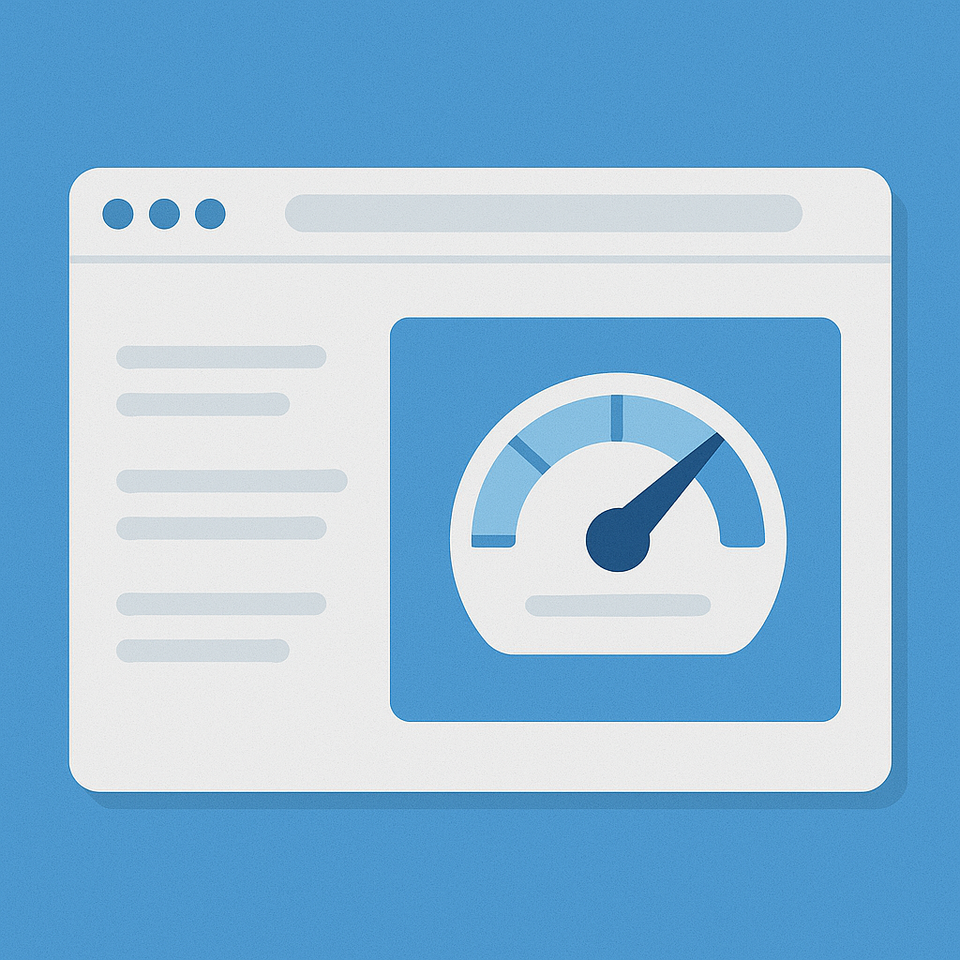
- Run your page through PageSpeed Insights—images should show as optimised
Why this matters: Alt text helps screen readers and Google. Compressed images keep your site fast.
Step 6: Add a Call-to-Action
Do this:
Every page needs a clear next step:
- Service pages: "Get a free quote" or "Contact us"
- Blog posts: "Read next: [related post]" or "See our services"
- Product pages: "Add to cart" or "Request more information"
Place CTAs at the end of content and, for longer pages, partway through.
Check this worked: No page is a dead end—visitors always know what to do next.
Why this matters: SEO brings visitors. CTAs turn visitors into customers.
Module 4 Foundation Checklist
- [ ] Keyword map from Module 3 ready
- [ ] Unique titles and meta descriptions added (using keywords from map)
- [ ] Content structured with clear headings (H1, H2, H3)
- [ ] Content answers search intent thoroughly (300+ words minimum)
- [ ] 2-5 internal links added per page with descriptive anchor text
- [ ] All images have alt text and are compressed
- [ ] Clear CTA on every page
FAQs
How many internal links should I add per page? Aim for 2-5 helpful links per page. More is fine if they're relevant and natural.
What makes good anchor text? Descriptive phrases like "SEO audit checklist" instead of vague text like "click here" or "read more."
Do images always need alt text? Yes. Alt text helps screen readers and helps Google understand images.
How long should my content be? Service/product pages: 300-500 words minimum. Blog posts: 500-1000 words. Write enough to thoroughly answer the topic—quality matters more than word count.
Where exactly do I put my keywords? Use your main keyword in: title tag, meta description, H1, naturally 2-3 times in body content. Don't force it—write naturally.
Quick Wins in This Module:
Part of Module 4: On Page SEO | Module 4
- How To Add Internal Links that Boost Rankings
- Find Missing ALT Text in 10 Minutes
- How To Write Meta Descriptions that Get Clicks