Site Structure & Navigation | Module 2
By the end of this module, you’ll know how to set up a simple, SEO-friendly site structure where no page is more than three clicks from your homepage. This makes it easier for both Google and your visitors to find everything.
Think of your website like a shop. Your core pages are the main aisles, your navigation is the signposts, and every door needs to open properly. If one page is hidden or hard to reach, people and Google will miss it.
Step 1: Create Your Core Pages
Do this:
- Minimum pages: Home, About, Services (or Products), Blog, Contact
- Optional pages: FAQ, Resources, Testimonials, Privacy/Legal pages
Check this worked: All main pages are reachable in one click from homepage
Why this matters: Core pages form the backbone of your site. Without them, visitors and Google can't navigate easily.
Step 2: Organise Your Navigation
Do this:
- Add core pages to the top menu
- Keep it flat - no deep submenus
- Place trust pages (Privacy, Terms) in the footer
Example menu structure:
- Top menu: Home, About, Services, Blog, Contact
- Footer: Privacy, Terms, Sitemap, FAQs, Resources
Check this worked: A friend can find "Contact" in under 2 seconds
Why this matters: Clear navigation helps both people and Google move around your site. Flat structure means important pages are easy to reach.
Step 3: Plan Blog Categories & Tags
Do this:
- Use Categories for broad topics
- Use Tags for specifics
- Create categories that match your actual content
Example structure:
- Categories (broad): SEO, Web Design, Content, Analytics
- Tags (specific, optional): core-web-vitals, internal-linking, breadcrumbs, xml-sitemap
Check this worked: Each post has 1 category and a few relevant tags
Why this matters: Categories group content like aisles in a store. Tags act like labels. Both help visitors and Google find related content.
Beginner tip: Don't set up categories if you don't have posts yet. Write 3–4 posts first, then see what natural groups emerge.
Step 4: Check for Orphaned Pages
Do this:
- Every page needs at least one internal link pointing to it
- Quick check: Is every page linked from a menu or another page?
What's a CMS? Your CMS is the platform you built your site on (WordPress, Shopify, Squarespace, Wix). Most CMS platforms have SEO plugins or built-in tools that make tasks like sitemaps and internal linking easier.
Check this worked: No important page is left unlinked
Why this matters: An orphaned page is like a locked room. Visitors and Google can't enter.
Beginner tip: If you're on WordPress, plugins like Yoast or Rank Math flag orphaned content.
Step 5: Keep URLs Short & Clean
Do this:
- Use clear keywords in slugs (part after domain)
- Avoid filler words (and, the, of)
- Keep to 3–6 words
Clean URL examples:
Home:
- Good:
/ - Bad:
/homepage-welcome/
About:
- Good:
/about/ - Bad:
/about-our-company-and-team-story/
Services:
- Good:
/services/ - Bad:
/our-amazing-services-for-all-businesses/
Service detail (Web Design):
- Good:
/services/web-design/ - Bad:
/services/website-design-services-for-small-business-brisbane/
Blog:
- Good:
/blog/ - Bad:
/our-latest-articles-and-news-blog-posts/
Rules to follow: 3–6 words, real keywords, no filler words, lowercase, hyphens between words.
Check this worked: Each slug describes the page clearly in plain English
Why this matters: Simple, clean URLs are easier for people to read and for Google to understand.
Step 6: Set Up an XML Sitemap
Do this:
- Generate sitemap (most CMS plugins handle this automatically)
- Submit to Google Search Console
- Your plugin usually includes only indexable URLs automatically
In Search Console: Go to Indexing > Sitemaps to submit your sitemap URL
Check this worked:
- Sitemap submitted in Search Console
- Sitemap has no blocked or duplicate URLs
Why this matters: Sitemaps help Google discover pages it may miss when crawling.
Beginner tip: Submitting the sitemap in Search Console is enough for now.
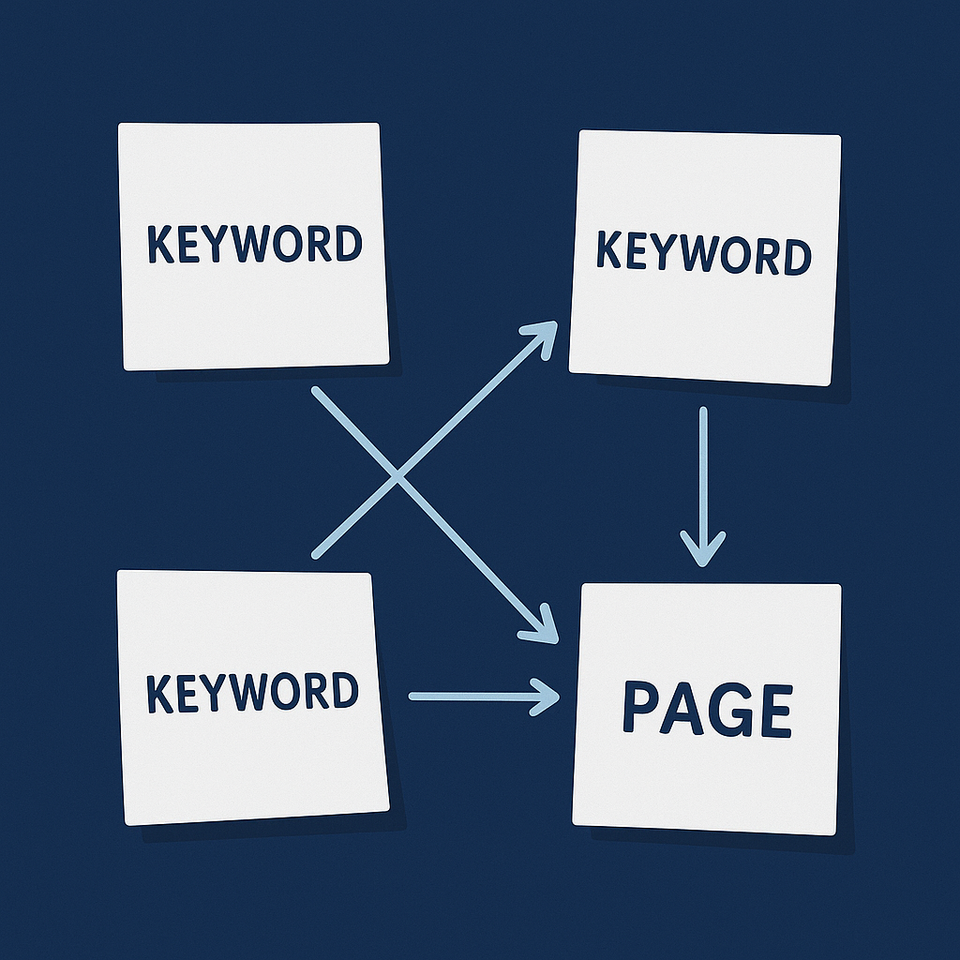
Step 7: Implement an Internal Linking Strategy
Do this:
- Link to key pages from the homepage
- Add contextual links in blog posts
- Build hub pages that connect to related posts
- Link new content from existing strong pages
Check this worked:
- Important pages have multiple links
- Links use descriptive anchor text
- Each page has at least 2–3 internal links
Why this matters: Google uses internal links to find content and judge importance. More internal links signal that a page matters.
Step 8: Optimise All Anchor Text
Do this:
- Replace "click here" with descriptive phrases
- Make anchor text natural and relevant
- Avoid stuffing keywords
Anchor text examples:
Weak: "Click here for our services" Better: "Explore our web design services"
Weak: "Read more" Better: "Read our guide to internal linking"
Weak: "Learn more about contact" Better: "See contact options and response times"
Check this worked:
- Anchor text makes sense if read on its own
- Text matches the destination page
Why this matters: Google uses anchor text to understand linked pages. Descriptive anchor text helps both users and search engines.
Step 9: Add Breadcrumb Navigation
Do this:
- Add breadcrumb navigation to all pages except homepage
- Make breadcrumbs clickable and logical
- Keep breadcrumb order consistent
Breadcrumb examples:
Service detail page: Home > Services > Web Design
Blog post: Home > Blog > How to Choose a CMS
Resource subpage: Home > Resources > SEO Checklists
Consistency tips:
- Always start with Home
- Use exact page names
- Last crumb = current page (no link)
Check this worked:
- Breadcrumbs show on all relevant pages
- Breadcrumbs match site structure
Why this matters: Breadcrumbs help visitors and Google understand page relationships and site hierarchy.
Beginner tip: Most WordPress themes and plugins (Yoast, Rank Math) can add breadcrumbs without coding.
Module 2 Foundation Checklist
- [ ] Core pages created
- [ ] Flat, crawlable navigation in place
- [ ] Blog posts organised with categories & tags
- [ ] No orphaned pages
- [ ] Clean, descriptive URLs
- [ ] Sitemap submitted to Search Console
- [ ] Internal linking strategy active
- [ ] Anchor text optimised
- [ ] Breadcrumb navigation added
FAQs
What pages should every website have? Home, About, Services or Products, Blog, and Contact. Privacy and Terms pages build trust.
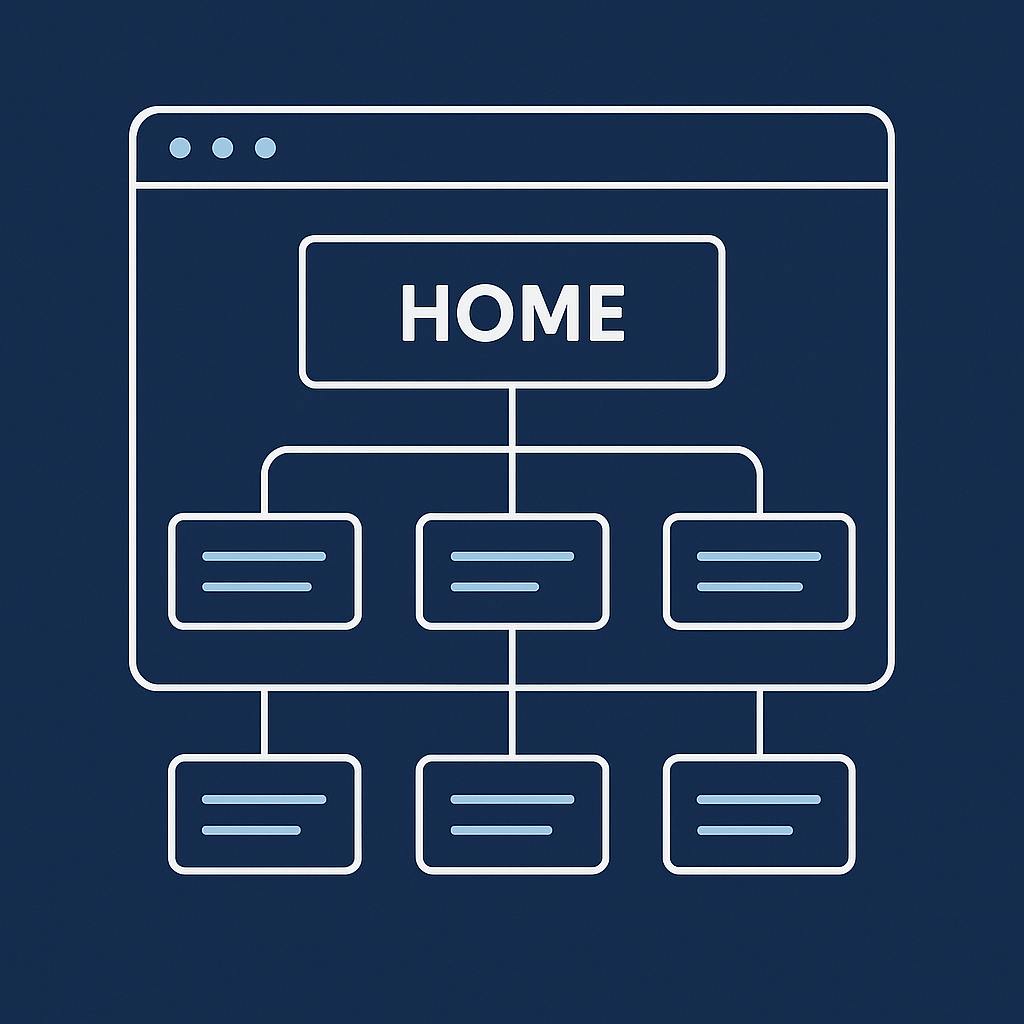
How many pages deep should my site structure be? Keep important pages close to your homepage through logical structure and internal linking. Focus on making pages easy to find rather than counting clicks.
What is a flat site structure? All main pages sit close to the homepage. Avoid deep submenus or long folder paths that make pages hard to reach.
Should I use categories or tags in my blog? Start writing first. Once you have a few posts, create categories that match your topics. Each post should have 1 category and a few relevant tags.
What is an orphaned page? A page with no internal links. Google may not crawl or index it because it can't discover it through your site's link structure.
How many categories should I create? Create as many as you need to organise your content logically. There's no magic number - match your categories to your actual content topics.
Quick Wins in This Module:
- SEO-Friendly Slugs
- Site Structure for SEO: Why It Matters
- What is a Canonical URL
- What is a CMS and How It Helps with SEO
Flat Site Structure for SEO: Why It Matters
What is a Canonical URL Small Sites
What is a CMS and How It Helps with SEO
← Module 1: Make Sure Google Can See You
→ Module 3: Keyword & Content Planning (coming soon)