Add Your Website to Google Search Console | Module 1.4
Connect your site to Google’s free tool so you can see if Google is finding you.
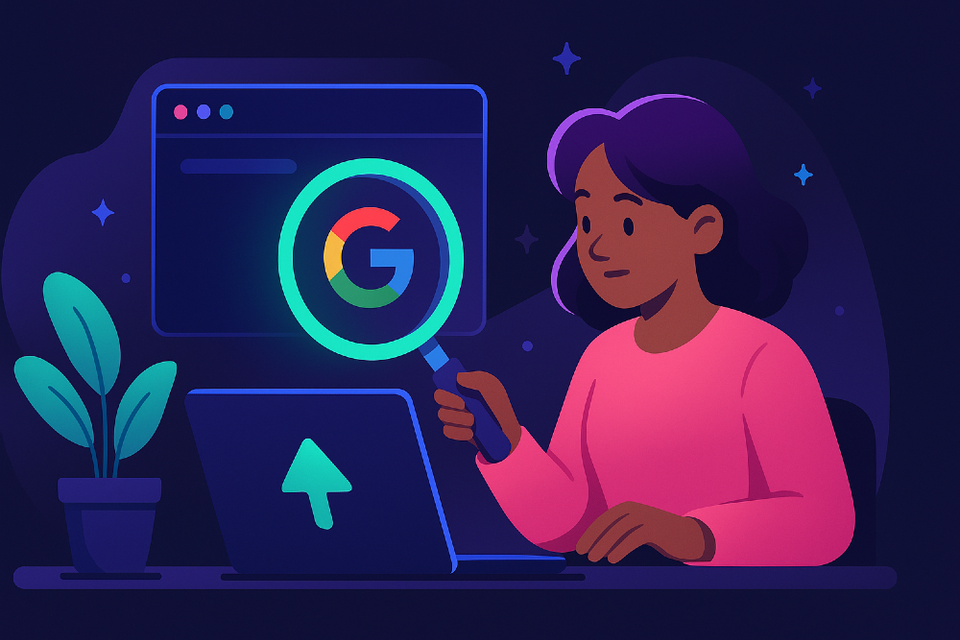
Google Search Console is Google's free platform that shows you how your site performs in search results. Before you can use it, you need to prove you own your website. This process is called verification.
Once verified, Search Console will show you which pages Google has indexed, alert you to technical problems, and help you understand how people find your site through search.
Why This Matters
Without Search Console, you're flying blind. You won't know if Google is crawling your site properly, which pages are indexed, or if technical issues are blocking your visibility. Search Console gives you direct feedback from Google about your website's health.
Step 1: Create Your Search Console Account
Go to Google Search Console and click "Start now". Sign in with your Google account. If you don't have one, create a free Google account first.
Step 2: Choose Your Property Type
Google offers two ways to add your website:
URL prefix (recommended for beginners): This verifies a specific version of your site (e.g., https://yoursite.com.au). It's simpler and works for most small business websites. Choose this if you're new to SEO or don't have access to your domain's DNS settings.
Domain property (advanced): This verifies all versions of your domain at once (http, https, www, non-www, subdomains). It requires editing DNS records at your domain registrar. Only choose this if you're comfortable with technical settings.
For most users, URL prefix is the best choice.
Step 3: Verify Ownership (URL Prefix Method)
- Enter your website URL exactly as it appears in your browser (including https://)
- Click Continue
- Google will show you several verification methods. Choose HTML tag (most reliable for beginners)
- Copy the meta tag code Google provides
- Paste this code into your website's header section (between the
<head>and</head>tags) - Click Verify
Where to add the HTML tag:
- WordPress: Use a plugin like "Insert Headers and Footers" or add it to your theme's header.php file
- Squarespace: Go to Settings > Advanced > Code Injection > Header
- Wix: Go to Settings > Custom Code > Add Code to Head
- Shopify: Go to Online Store > Themes > Edit Code > theme.liquid file
Step 4: Verify Ownership (Domain Property Method)
Only follow these steps if you chose the Domain property option:
- Google will provide a TXT record
- Copy the entire TXT record exactly as shown
- Log into your domain registrar (where you bought your domain - GoDaddy, Namecheap, etc.)
- Find the DNS settings or DNS management section
- Add a new TXT record with the value Google provided
- Save the DNS record
- Return to Search Console and click Verify
DNS changes can take up to 72 hours to process, but usually complete within a few hours.
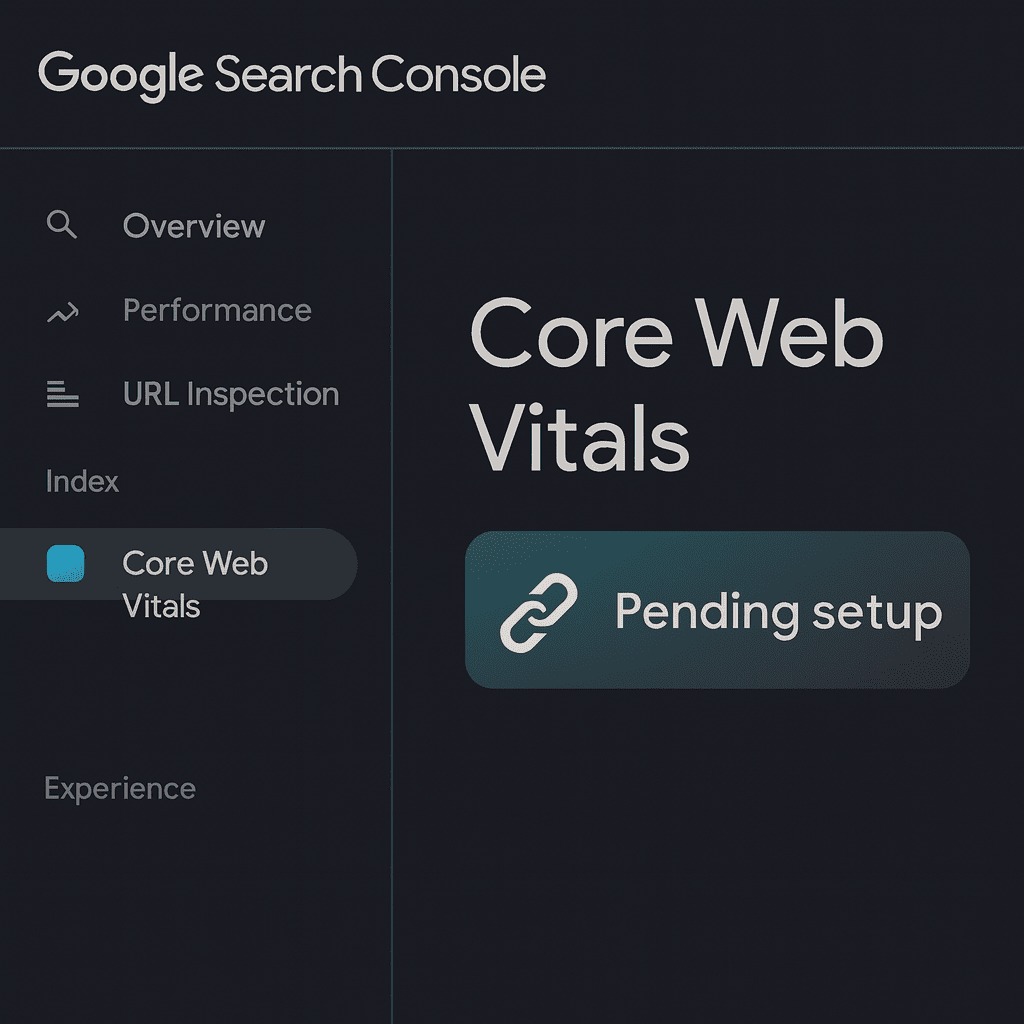
What Happens After Verification
Once verified, your property will appear in Search Console with a green checkmark. Don't panic if you see no data initially - this is completely normal. Google needs time to collect information about your site.
Timeline expectations:
- First 24-48 hours: Empty reports are normal
- Week 1: Basic data starts appearing (page indexing, some clicks)
- Week 2-4: Full historical data becomes available
Self-Check: Is It Working?
Confirm your setup is complete:
- Can you see your website property listed in Search Console?
- Does the verification status show "Verified" with a green tick?
- Can you access the Overview dashboard without errors?
If all three are yes, you're successfully connected.
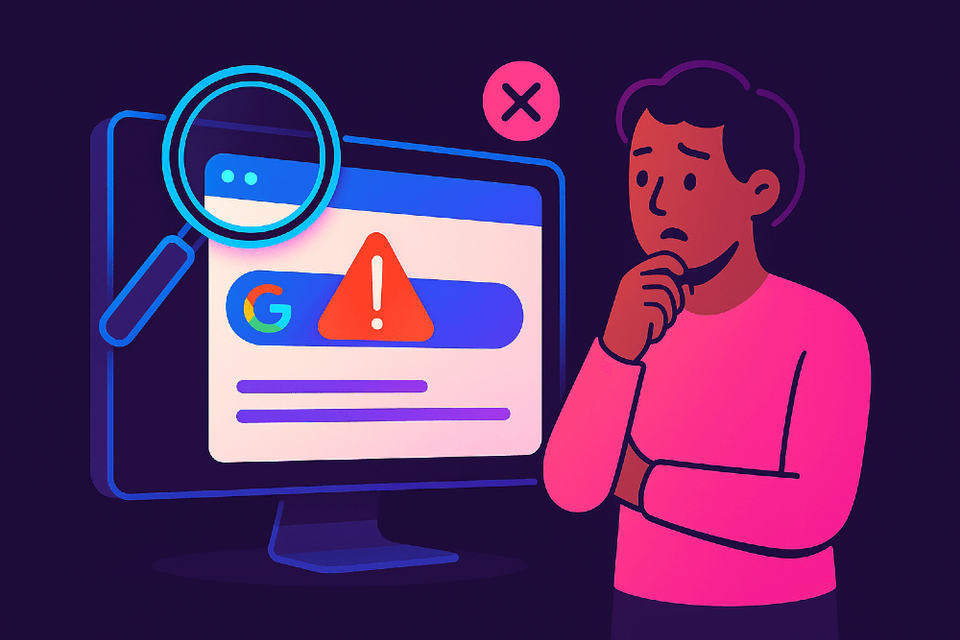
Troubleshooting Common Issues
"Verification failed" error: The HTML tag wasn't detected. Check that you pasted the code in the correct location and that it's between the <head> tags. Some themes or caching plugins may need to be cleared first.
"DNS record not found" error: The TXT record hasn't propagated yet or was entered incorrectly. Wait 24-48 hours and try again. Double-check you copied the entire TXT value without extra spaces.
Can't find where to add HTML tag: Search your website platform's help documentation for "add code to header" or "custom HTML". Most platforms have step-by-step guides for this exact task.
Verification works but no data shows: This is normal for new properties. Wait 48-72 hours for data to populate.
Next Steps After Verification
Now that you're connected:
- Submit your sitemap (covered in a separate Quick Win)
- Check the Page Indexing report to see which pages Google has found
- Set up email alerts so Google notifies you of critical issues
- Review the Overview page weekly to monitor your site's search performance
FAQs
Do I need Search Console if my site is already in Google? Yes. Being in Google doesn't mean you can see performance data or get alerts about problems. Search Console is essential for monitoring and maintaining your visibility.
Can I add multiple websites? Yes. You can verify and monitor unlimited websites from one Google account.
Will this cost money? No. Google Search Console is completely free.
How often should I check Search Console? Check weekly for the first month, then monthly once your site is stable. Set up email alerts so Google notifies you of urgent issues.
What if I lose access to my verification? You'll need to verify again using one of the available methods. Keep your verification method active (don't delete the HTML tag or DNS record).